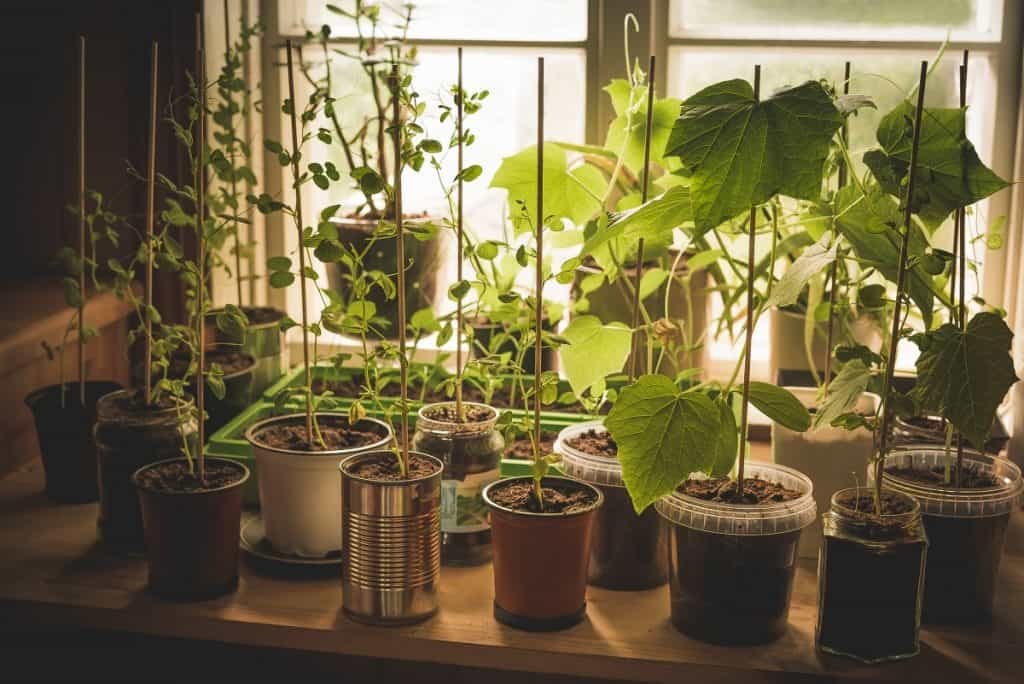
Growing vegetables indoors is a great way to enjoy healthy, fresh produce all year round and it may be easier than you think. With a little knowledge and motivation, you’ll soon be enjoying your own local herbs, tomatoes and greens at home.
To grow vegetables indoors:
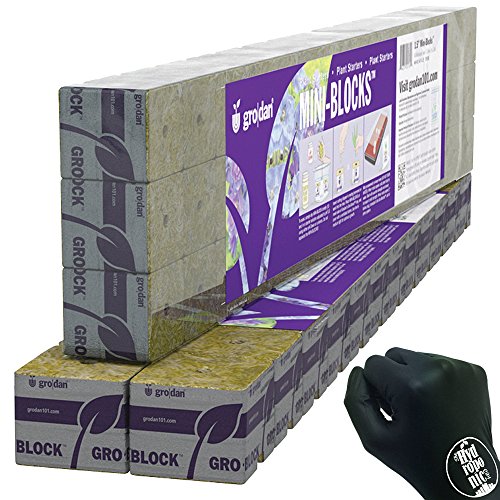
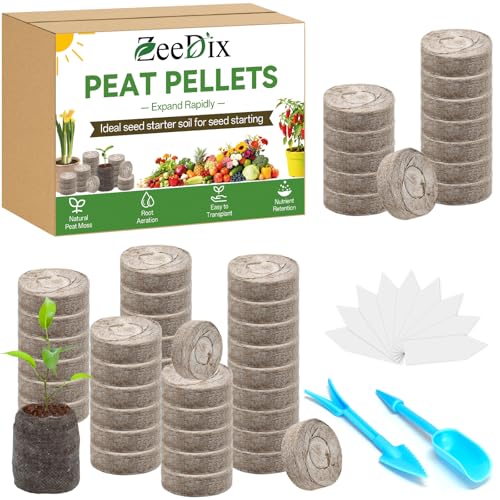
- plant your seeds in a peat pellet, coco coir, or hydroponic medium like Rockwool. Keep them wet and warm in a location with indirect sunlight.
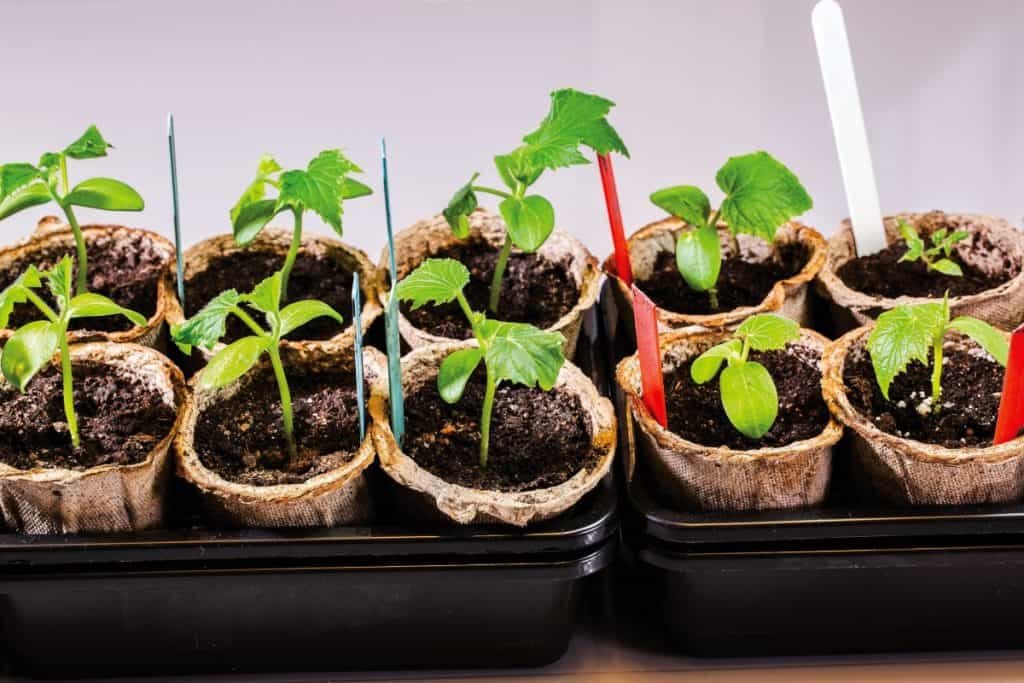
- Transfer the seedlings under a low power led light once they sprout. Keep the light 6-8” above the plants to prevent damage.
- Transfer the plants to a pot or hydroponic grow space once they’re 4-6” tall.
- Water your garden regularly while monitoring for signs of disease and pests.
As with all gardens, growing vegetables can come with its fair share of challenges, but no need to worry, you don’t need a green thumb to become a great gardener. We’ve outlined all the ins and outs of how to start your own indoor garden below.
Selecting Vegetables to Grow Indoors
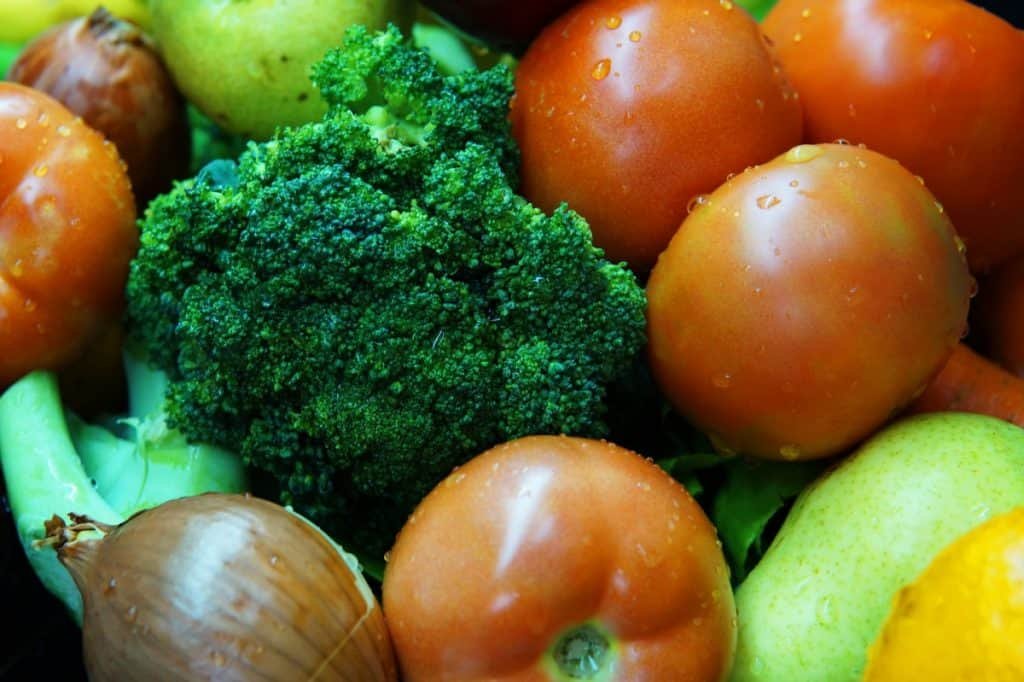
The first step of starting your indoor garden is deciding what plants you want to grow. For many, this is an exciting stage and full of potential as you decide what sort of crop you want to be able to harvest.
Selecting the veggies and herbs you eat most is a good place to start. Keep in mind that herbs and salad greens don’t require as much lights as fruiting plants like tomatoes, cucumber and peppers. It’s helpful to select vegetables that have similar requirements for light, humidity, and watering if they are growing in the same planter.
Some popular choices for indoor gardens include:
- Herbs (like basil, rosemary, thyme, oregano, mint, and more)
- Peppers
- Kale
- Salad greens
- Tomatoes (especially cherry tomatoes and other mini varieties)
- Garlic
- Carrots
- Microgreens
Take a little bit of time to do some extra research to ensure the plants you choose grow well indoors, Even different varieties of the same vegetable grow better indoors than others. We’ve compiled a list of 19 plants that grow well in indoor hydroponics or soil systems.
Pollinating is one of the largest obstacles to growing indoors. Because there are no bees or other natural pollinators, selecting plants like tomatoes and peppers that only require a shake or light breeze to pollinate will be easier to manage than cucumbers which require pollen transfer from flower to flower. Salad greens on the other hand don’t require pollinating at all.
There are other factors to consider when selecting plants for your indoor garden. For example, plants like garlic need to be replanted frequently, tomatoes need stakes and vertical grow space, and plants like peas need trellis to climb.
Indoor Growing Methods for Vegetables
When growing vegetables indoors, it is important to take time to consider what type of system you want to grow the plants in.
Many indoor gardeners choose to not use soil at all when growing a garden. Some common growing methods are:
- Soil (in pots or containers)—soil in a pot or container is one of the most common growing methods for growing plants. Soil or potting mix itself is a great, rich growing medium due to its ability to provide vital nutrients and retain moisture. You can choose to make your own potting mix or opt for some of the well-known commercial brands like Miracle Grow and Sta-Green.
- Hydroponics – growing vegetables hydroponically requires the roots of the plant to be suspended in water. This method uses no soil and is great for growing an indoor garden because it can sustain plants all year round. The water is supplemented with a mineral nutrient solution in order to achieve the best results.
- Aeroponics – this method involves suspending the roots of the plant in the air and they are provided necessary nutrients through water or mist, rather than soil. It is a method derived from hydroponics and is considered a more technologically advanced technique for growing vegetables and other types of crops.
The choice of growing method will often depend on your personal preference. Traditional soil methods tend to be favored by beginners or those looking for a simple, straightforward gardening experience.
Hydroponic and aeroponic growing methods typically require more equipment and a bit more skill, so they are great options for anyone who is looking for a more engaging gardening experience or someone who loves to experiment with science. They also allow vertical growth set-ups, so they work well for those who don’t have a lot of space for gardening.
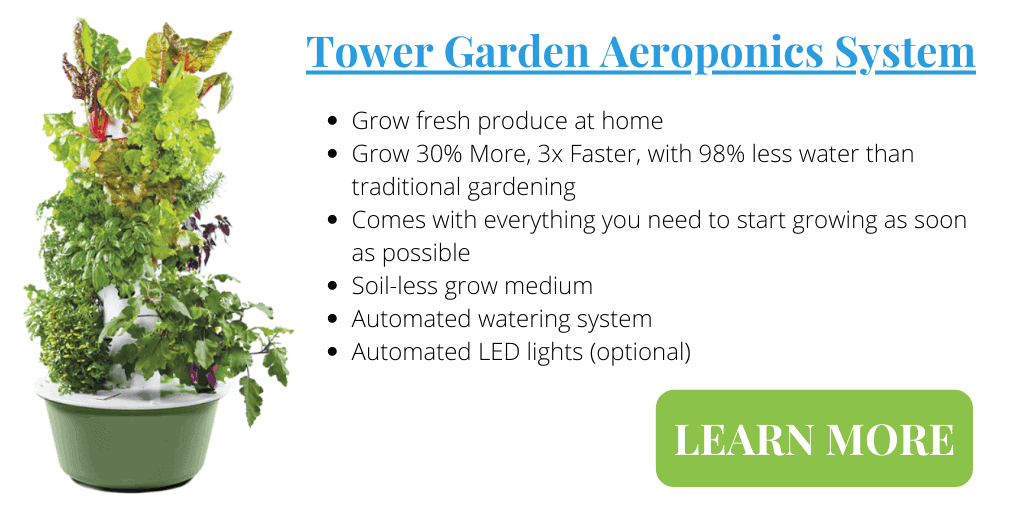
For most people, the easiest way to start an indoor garden is using a Ready-To-Grow system that has been designed for easy operation and requires very little maintenance.
The Tower Garden vertical aeroponic system is my favourite way to grow vegetables at home. The automated system grows 20 or more plants in a space the size of a living room chair. In less than an hour from arriving on your doorstep the easy to use tower can be up and running without the use of any tools.
Get more details on the Tower Garden and how it works in our recent article. With very little work you can have fresh, nutritious and delicious produce right off the vine at home.
Growing from Seeds Versus Starter Plants
Once you’ve decided on what plants you wish to grow, you will need to choose whether to grow them from seeds or to use starter plants. Seeds tend to be cheaper but take a little more care and time to get to harvest. Starter plants are more expensive, but they reduce the time waiting for seeds to sprout and get you one step closer to your harvest.
How to Start Your Indoor Vegetable Garden with Seeds
If you decide to start your garden from seeds, you have two main options available to begin. Some work best sprouted in a small container then transferred to a growing container once the roots have started to establish themselves. Others will need to be directly planted into the soil or growing medium and left to grow undisturbed until ready to harvest.
Finding out the best method for sowing the vegetables you decide to grow is as simple as checking the back of your seed pack. The details on getting the best results is usually detailed on the packaging or on the seed supplier website.
What Sprouting Medium To Use Indoors
The sprouting period is important for seeds and it’s important that they are kept in a warm place in order to speed along the process.
Plants can be sprouted from seeds using a variety of methods:
- Placing seeds in small containers of soil
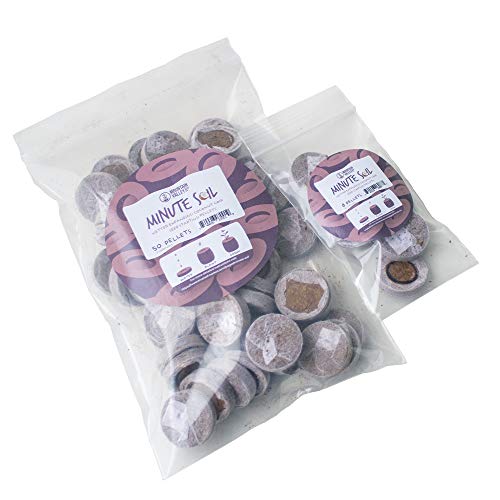
- Using peat pods
- Placing seeds in a starter medium like coconut coir or Rockwool
- Using a seed starter kit
Methods like the seed pods, Rockwool, and starter kits are generally more expensive since you have to purchase the materials, but they can make the process of growing seedlings much easier.
Grow Lights for Seeds and Seedlings
Low wattage LED lighting is suitable for seeds and seedlings and should be on between 12 to 16 hours a day. The lights should be hung low, close to the plants, about 6 to 8 inches above the seedlings. If the light is too far away, the seedlings will grow thin and weak in an attempt to stretch toward the light.
In addition to LED lights, fluorescent grow lights are also a suitable option for starting seeds.
Should Fertilizer be Used with Seedlings
While it may be tempting to use fertilizer to give your seeds a healthy start, it really isn’t a good idea. Fertilizer, even if diluted with water, can be harmful to the seedlings and the chemicals can potentially burn them.
Indoor Conditions for Seedlings and Starter Plants
Make sure to keep the seedlings warm and occasionally mist them lightly with water. A slightly damp, humid environment tends to be ideal for promoting seeds to sprout. Be especially attentive during winter months when the air is dry due to heating systems and make sure the seedlings don’t dry out.
Remember, the indoor area you place your indoor vegetable plants should essentially act similarly as the environment where they would live outdoors. You can’t mimic every aspect of an outdoor environment, but you can at least make sure that your plants receive all the necessary care they would receive outdoors.
Transplanting Seedlings to Larger Containers
Once the seedlings have flourished into larger plants, placing them in a larger pot or aeroponic/hydroponic system will allow them to grow larger faster. It’s important to make sure that there is enough room to support the new leaves and roots that have begun to form.
Because the new leaves and roots will need more light to support their growth, you will need to increase their exposure to light either by placing them in a suitable well-lit area or supplementing the natural light with grow lights.
How to Start Your Indoor Vegetable Garden from Starter Plants
If you decide to start with starter plants, you’re already well on your way to a bountiful garden. While transferring the starters to their final containers it’s important to minimize the disturbance to the roots.
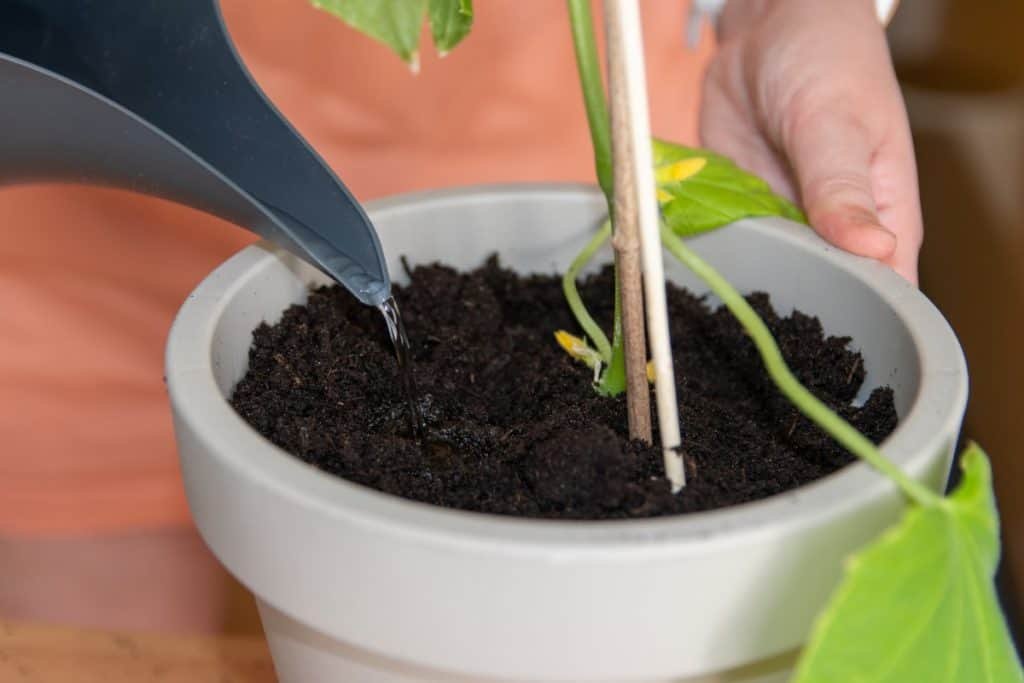
When growing in pots, dig a hole in the soil a half inch deeper than the root-ball, place your plant in the hole, add some water in the hole and back fill it with soil. Top water the soil until it’s well saturated.
Find out what plants grow well in pots in my article, What Plants Do Well In Plastic Pots?
If you are planting in a hydroponic system, rinse off all the dirt from around the root system and place the plant in the grow medium. If your system uses net pots or another support system place the plant in the container where it has access to the watering system.
Planting in Soil with Pots and Containers
The great thing about using soil in pots and containers to grow your indoor vegetable garden is that you have many options and they are relatively easy to acquire. Plus, you can use decorative containers that can add aesthetic appeal to your indoor garden and let your personality shine through, even with your plants.
To start your indoor vegetable garden using soil, all you need to do is prepare your soil to include compost, organic fertilizer, and some supplemental nutrients if needed for the particular vegetables you are growing.
Some additives, like vermiculite and perlite, will ensure that the soil retains just the right amounts of air and water by letting the soil drain moisture better and remain aerated. This can be incredibly beneficial for the plants, especially if you have a tendency to overwater. Be sure to also pick containers that permit water to drain, as backlogged water in the soil can cause root rot and plant sickness.
Potting soils tend to be favorable among indoor gardeners because they come pre-mixed with helpful additives. In addition, garden soil or soil you take from the outside isn’t sterile, so there may be bacteria or fungus present that can spoil your chances of a healthy harvest. Potting soils are often pre-treated to ensure sterility.
You can use nearly any type of pot or container to hold your soil in for your indoor vegetable garden. As long as these pots and containers have holes to support water drainage, they are suitable for you to use. Traditional plant pots and containers as well as any other storage container are all fine, as long as the plant has enough room to grow and there is a way for excess water to drain.
How to Water Your Indoor Garden
Water is the sustainer of all living things and that means it’s vitally important for sustaining your indoor vegetable garden.
As you begin your indoor garden, you’ll want to figure out how you want to make sure your plants are adequately hydrated. You’ll need to choose a watering system that will supply the plants with both a good quantity and good quality of water. Some methods might be more appealing to you, depending on how involved you want to be with your garden.
Some systems, like aeroponics or hydroponics, might already have built-in watering systems by necessity. For traditional potted plants, however, you have several options when it comes to how to water your garden.
Watering By Hand
Watering by hand is by far the simplest way to maintain the water supply your plants require. The benefit of watering by hand is that you are in complete control of how much water is supplied and how frequently the plants are watered. As simple as watering by hand can be, it does require some careful attention.
To water by hand, you can use a watering can or you can use a cup or bowl to transfer water if your garden is fairly small. You can even rinse out old milk jugs and fill them with water and use this to deliver water to your garden. If desired, you can also buy adaptors for your kitchen sink to let you hook up a hose to your faucet.
When watering by hand, try to pour the water at the base of the plant and wet the soil rather than pouring water over its leaves. When the leaves of the plant become wet, it can promote bacteria and fungus that can spoil your crop.
For some, hand watering isn’t appealing because:
- Having to water the plants yourself can be a time-consuming task
- You must keep a close watch on whether or not the plants need water and be able to recognize signs of over or underwatering
- Watering by hand can be labor intensive depending on the scope of your indoor vegetable garden and the location of your plants
- Remembering to water the plants may be difficult for those with busy lifestyles
Self-Watering Systems
Self-watering wicking systems consist of refillable reservoirs that rest below the soil or medium that supports the plants. The medium in which the plants rest then soaks up the water from the reservoir on an as-needed basis. As the plants receive water from the moisture-retaining medium, the roots will naturally start to grow down towards the water supply.
Other examples of self-watering systems can be as simple as a water-filled bottle turned upside down and placed in the soil. You can even use leftover wine bottles. This simple device can be directly placed into soil and will automatically deliver water to your plants.
Self-watering pots will reduce the need for daily watering but it’s still a good idea to inspect your plants regularly. And don’t forget to periodically refill the reservoirs or bottles before the water runs out.
Automatic Watering Systems
An automatic watering system don’t have to be complicated or cost a small fortune. Simple drip systems can keep your plants watered for up to a week before having to refill the reservoir.
Using a timer, an automatic watering system can be connected directly to a water supply and be scheduled to supply your plants with the exact amount of water they need for healthy growth.
The aeroponic growing method relies on an automatic cycling watering system. Many aeroponic systems utilize atomizers that will automatically mist the plants on a rotating time basis. This watering system is guaranteed to work as long as you remember to fill the water reservoir and set the timer appropriately to accommodate the plants.
Given the fact that you are in control of how much and how frequently the system waters the plants, you have the freedom to customize those aspects to meet the needs of different plant varieties.
For this reason, many indoor gardeners like automatic watering systems for its “set it and forget it” capabilities. Depending on the complexity of your system, there are many different electrical and mechanical timers on the market to suit your garden’s needs.

- Automatic Drip Irrigation Kit: This kit is a system of water pumps, timers, tubes, and drippers...
- Easy DIY Installation: In just 10 minutes, you can install a drip irrigation system for your...
- Scientific Water-Saving Design: Using watering stakes can save at least 70% more water than...
Choosing Nutrients And Fertilizer For Your Indoor Garden
In addition to water, indoor plants also require adequate nutrients. These provide them with the essential minerals they require in order to grow and provide you with a healthy harvest. Soil is a great medium for plants because it naturally provides the needed minerals, but it becomes depleted over time and needs to be replenished.
To ensure that this supply stays strong you can supplement the soil with fertilizers. Because this is an indoor vegetable garden, you’ll want to use organic fertilizers free of pesticides and other harmful chemicals that aren’t safe to have in the home. Plus, indoor gardens are generally more protected from the risk of insects already.
When it comes to fertilizers, there are two main types:
- Solid (Granular)
- Liquid
The type of fertilizer you choose to use will depend on the type of growing method and watering system you are using to grow your indoor plants. These fertilizers vary in the way they are applied, so one type might work better for your garden set up. The fertilizers also come specially blended for use with certain plant varieties, so it can be helpful to search for the ideal composition depending on what you are growing.
To be perfectly honest, plants can’t really tell the difference between the nutrients and minerals supplied by the solid fertilizer versus those supplied by the liquid fertilizer, so don’t be worried if you’re not sure exactly which type to use. Check out our article for more information on solid and liquid fertilizer.
Lighting for Growing Indoor Vegetables
One very important consideration for an indoor garden that shouldn’t be overlooked is the lighting. The plants you choose to grow in your garden will dictate the amount of lighting that’s required.
- Growing simple edibles like sprouts can be done without any supplemental lighting.
- Micro-greens only need a low power fluorescent or LED tube light.
- Salad greens take a little bit more light so unless you have a window with full sun exposure, a low power LED light is recommended.
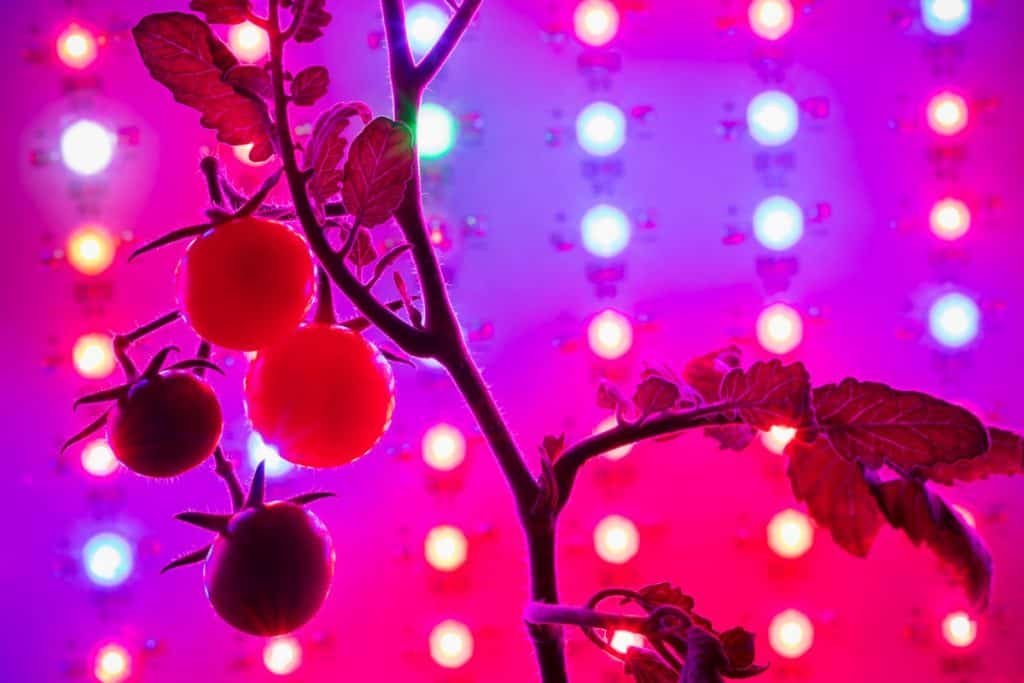
- Fruiting plants require more powerful full spectrum LED lighting for a quality harvest.
Whether you choose to use natural sunlight or artificial, you can still grow a beautiful indoor vegetable garden.
Natural Sunlight
Placing your indoor vegetable plants near a window is the easiest way to ensure they will receive natural sunlight. If possible, you’ll want to periodically rotate the plants so that all sides are exposed to equal amounts of sunlight, or else you might find yourself with a very lopsided garden.
To ensure that each plant will receive an equal amount of sunlight, arrange them in a straight line and systematically rotate them when necessary. Plants that don’t require as many hours of sunlight can be placed further from the window or at the edges, where sunlight may be blocked by the window frame at certain hours of the day.
Avoid placing plants in any windows that may be drafty, as it can make it harder for plants to grow and remain healthy. In warmer months, you can consider moving any potted vegetables temporarily outdoors in order to take advantage of the direct sunlight and warmer temperatures.
Depending on the orientation of your home, some windows may provide a better light source than others. For instance, placing your plants in a window facing south or southwest will give them the best exposure to natural sunlight.
Grow Lights For Indoor Gardening
If you don’t have a lot of natural sunlight available, don’t let that stop you from growing a thriving indoor garden. You can utilize artificial light when you can’t ensure your plants will get enough natural light to grow.
Hanging LED grow lights over your indoor plants will give them the boost of light they need in order to grow. Grow lights are a great alternative to natural light and come in many different sizes and styles.
Selecting full spectrum grow lights for your indoor vegetable plants is important because they mimic natural sunlight as closely as possible. When used in conjunction with a 24 hour cycle timer the plants won’t know they’re indoors.
It’s also important to take into consideration the wattage of the light you use according to the type of plant. For example, you’ll want to use higher wattage lights on fruiting plants and less on greens. Low wattage is also better for sprouting plants from seed, as high wattage can be too intense and damage the vulnerable sprouts.
Some common types of grow lights are:
LED grow lights
these grow lights are perfect for sustainability enthusiasts, as they use about half of the electricity that traditional lights use and last much longer.
Although they cost more than traditional or fluorescent lights, they practically pay for themselves in what you save in electricity over time. LED grow light fixtures are available in all different sizes.
Fluorescent grow lights
fluorescent grow lights give off a relatively weak light and are better for plants that don’t require a lot of light. They need to be placed fairly close to the plant in order to provide enough energy for growth.
HID grow lights
HID grow lights are highly effective for indoor plants and were one of the main options for large indoor gardens before LED grow lights were available. They are a bit expensive, aren’t as efficient as LEDs when it comes to electricity consumption, and they also give off a lot of heat, which can be problematic for indoor plants.
For more information on grow lights for your indoor garden you can read our Complete Guide to Selecting The Best Grow Lights.
| Preview | Product | |
|---|---|---|

|
Barrina T8 LED Grow Light 4FT,168W(4 x 42W), 1000W Equivalent, Full... | View Latest Deal |
How to Monitor and Maintain Your Indoor Plants
There is no better way to maintain and monitor the growth of your plants than with your own eyes. As the plants grow larger, they will require more light and more water and nutrients to sustain a healthy growth.
As you monitor your indoor vegetable garden, make it a priority to visually inspect the leaves for potential disease and deterioration. Should any problems arise, trim the infected/damaged areas and try to remedy the problem.
Sometimes, you may need to adjust your watering schedule or change the light source. We recently compiled a comprehensive list of common indoor plant issues and their remedies to help combat any issues with your garden.
Once your plants start to produce vegetables, be patient to allow the edible fruits to fully mature. A vegetable that is picked too early will be small and not have a good flavor or texture. On the other hand, if you let your vegetables grow for too long, they can start to decay and rot while still on the plant.
Luckily, most vegetables are easy to tell when they are ready to be picked. For example, tomatoes and peppers will turn bright red. When harvesting, be careful not to damage the plant itself. Some plants may provide you with a handful of harvests, while others may only produce vegetables once before dying. For plants like herbs, you can trim off the leaves you need and leave the plant to grow and you will get multiple harvests.
Closing Thoughts
Now that we’ve covered the most basic aspects of starting an indoor vegetable garden, it’s your turn to put this knowledge to use. To grow an indoor vegetable garden, you’ll need light, plenty of water, and a suitable growing method.
As mentioned before, having a garden, big or small, requires time and dedication. Starting a garden can be a holistic process with many ups and downs along the way. don’t get discouraged by any setbacks, enjoy the process.